Stampin Up has released the list of the Retiring Stamp Sets.
Get your favorites now before they sell out or retired on May 31st.
Don't be sad as this means they'll have lots of new sets in the New Catalog when it comes out
June 1st.
Go to my Stampin Up Website HERE to see the list.
You can place your order HERE
Any questions please email me, I'd love to hear from you.
Louise Brown ~ Independent Stampin' Up! Demonstrator ~ lbcrafts@shaw.ca ~ 780-792-0585 , Alberta
Sunday, April 15, 2012
Tuesday, April 10, 2012
New Items in Clearance Rack
Friday, March 30, 2012
Field Flowers
I've used 3 different stamp sets, Field Flowers, Nature Walk (butterfly), French Foliage (splatters).
This card was inspired by one I'd seen on a blog, not sure who's.
We did the Field Flowers set in our February classes teaching 2 step stamping and I had wanted to used it again.
The colors used for the flowers are Baja Breeze, and Island Indigo stamped on W.White cs.The butterflies were stamped in Black Stazon and colored using the Blender Pen and ink refills in Calypso Coral and Daffodil Delight. The background was stamped in Early Espresso.
I used the Edgelits Adorning Accents die to do the edge of the w.white.
To purchase Stampin Up products in Canada, please go to my website HERE
If you have any questions about my creations please send me an email, I'd love to hear from you.
Thanks for Looking,
Happy Stampin
~Louise
Thursday, March 29, 2012
Umbrella - Rue Des fleurs
This set has so many amazing stamps. The Umbrella can be used for so many different greeting cards.
This is the card we're doing this month in our classes.
The background is a piece of Natural white cs painted with brown craft paint, left to dry and then put thru the embossing folder.
The mat behind the painted piece is Pool Party and the Labels die cut is Poppy Parade.
The Umbrella is stamped with Black Stazon, then die cut and colored using the Blender pen and ink refills.
Added some Crystal Effects to the clocks to give them a glossy finish to look like glass.
Using the new Blossom punch, I punched three from Pool party and spritzed them with water and crumpled them up to partly dry, which gives them the textured look.
Any questions about my creations, please send me an email, I'd love to hear from you.
To purchase Stampin Up products in Canada, please check out my SU website HERE
Thanks for looking
This is the card we're doing this month in our classes.
The background is a piece of Natural white cs painted with brown craft paint, left to dry and then put thru the embossing folder.
The mat behind the painted piece is Pool Party and the Labels die cut is Poppy Parade.
The Umbrella is stamped with Black Stazon, then die cut and colored using the Blender pen and ink refills.
Added some Crystal Effects to the clocks to give them a glossy finish to look like glass.
Using the new Blossom punch, I punched three from Pool party and spritzed them with water and crumpled them up to partly dry, which gives them the textured look.
Any questions about my creations, please send me an email, I'd love to hear from you.
To purchase Stampin Up products in Canada, please check out my SU website HERE
Thanks for looking
Wednesday, March 28, 2012
Easter Bunny (retired)
This bunny is so cute, that I had to use it on my grandchildren's cards.
Very simple card and fast to do, except for the egg took a little extra time.
I punched the dots and glued them to the oval punched egg, along with the scallop trim.
Hope your Easter is relaxing spending time with those your love.
Don't eat too many chocolate bunnies :o)
To order Stampin Up products in Canada, please go to my website HERE.
If you have any questions about stamping please send me an email, I would love to hear from you.
Thanks for Looking, enjoy!!
Very simple card and fast to do, except for the egg took a little extra time.
I punched the dots and glued them to the oval punched egg, along with the scallop trim.
Hope your Easter is relaxing spending time with those your love.
Don't eat too many chocolate bunnies :o)
To order Stampin Up products in Canada, please go to my website HERE.
If you have any questions about stamping please send me an email, I would love to hear from you.
Thanks for Looking, enjoy!!
Monday, March 19, 2012
One of the cards we did in February classes.
I've owned the Field Flowers set for quite a while but never inked it up.
I really like how it works with the 2 3/8" Scallop Circle punch for layering.
Layered my sentiment on the new Labels die....love those alot. I think I use them on almost all my cards.
Colors I used were Baja Breeze, Island Indigo and Pear Pizzazz.
If you live in Canada and would like to purchase these products please go to my Stampin Up website HERE
Thanks for looking, if you have any questions please send me an email.
Wednesday, February 29, 2012
Mixed Bunch challenges
It seems like forever since I've posted anything.
I've been too busy just playing and enjoying the new goodies from the Occasions mini catty.
Today I decided to play along with two challenges,
the Sweet Sunday Sketch and Color Throwdown Challenge and what fun I had.
Here is my card using both of these challenges...
I've enjoyed playing with the new Mixed Bunch set from the Occasions Mini.
On this card I inked it with Versamark and embossed it, then punched it with the new Blossom punch.
I'd love to hear what you think about my creation and if you have any questions please send me an emal.
If you live in Canada and would like to purchase these products please go to my Stampin Up website HERE.
Thanks for Looking at my Creation
Happy Stampin
~Louise
I've been too busy just playing and enjoying the new goodies from the Occasions mini catty.
Today I decided to play along with two challenges,
the Sweet Sunday Sketch and Color Throwdown Challenge and what fun I had.
Here is my card using both of these challenges...
I've enjoyed playing with the new Mixed Bunch set from the Occasions Mini.
On this card I inked it with Versamark and embossed it, then punched it with the new Blossom punch.
I'd love to hear what you think about my creation and if you have any questions please send me an emal.
If you live in Canada and would like to purchase these products please go to my Stampin Up website HERE.
Thanks for Looking at my Creation
Happy Stampin
~Louise
Friday, January 27, 2012
Tea Shoppe Birthday
When I saw this set I knew I wanted to use it for my Mom's 83rd Birthday, which just happens to be today, Jan 27th.
The colors I used were N.Q Navy, Baja Breeze and V. Vanilla. I got the colors from a card I saw on Ann Schach's Blog, love her creations.
I used the Perfect Details texturz plate for the bg N Q Navy. Stamped the little flower from the set with NQNavy unto First Edition DSP and inked the edges and layered unto B.Breeze. The Blender pen was used to color the flowers with same color.
The NQNavy behind the sentiment was die cut using the New Framelits.
To make the flower I punched 3 flowers using the Fancy Flower punch and sprayed water on them and crumpled them up, then partly opened them up and let dry. The center is a 5/8" brad dipped in Versa Mark ink and then into Iridescent Ice ep and heat set.
I made a second one for my sister that has a birthday in January as well. There are Hat Pins in the new mini and I added some beads and crystals and stuck the pointed end into a pop dot under the tea cup.
Thanks for looking at my creations. Hope I've given you some ideas for playing with your stamps and having fun. If you have any questions on my creations, please send me an email, I'd be glad to share.
If you live in Canada and would like to purchase these items please check out my Stampin Up website.
The colors I used were N.Q Navy, Baja Breeze and V. Vanilla. I got the colors from a card I saw on Ann Schach's Blog, love her creations.
I used the Perfect Details texturz plate for the bg N Q Navy. Stamped the little flower from the set with NQNavy unto First Edition DSP and inked the edges and layered unto B.Breeze. The Blender pen was used to color the flowers with same color.
The NQNavy behind the sentiment was die cut using the New Framelits.
To make the flower I punched 3 flowers using the Fancy Flower punch and sprayed water on them and crumpled them up, then partly opened them up and let dry. The center is a 5/8" brad dipped in Versa Mark ink and then into Iridescent Ice ep and heat set.
I made a second one for my sister that has a birthday in January as well. There are Hat Pins in the new mini and I added some beads and crystals and stuck the pointed end into a pop dot under the tea cup.
Thanks for looking at my creations. Hope I've given you some ideas for playing with your stamps and having fun. If you have any questions on my creations, please send me an email, I'd be glad to share.
If you live in Canada and would like to purchase these items please check out my Stampin Up website.
Saturday, January 21, 2012
Valentine P.S.I Love You
Have you got your valentine card started yet for that Special someone???
It's so much fun to make your own cards for those special people in your life.
This one was lots of fun as I love the new Labels die and P.S. I Love You stamp set.
I used the set in the new Occasions Mini along with the Labels Framelits dies.
First I stamped the Cherub in blushing bride on very vanilla cs, inked the edges in the same and layered it on basic gray. Die cut the b.bride and b.gray framelit in the 2 different sizes to layer.
Punched a piece of the First Edition dsp with the Scallop trim border punch and inked with b.bride, layered some of the Victoria crochet trim and new b.bride pleated satin ribbon.
The sentiment is from Valentine Love set in the big catalog.
If you live in Canada and would like these products to make your own cards, go to my Stampin Up Website to purchase. I appreciate your business and any comments you leave.
Thanks for Looking
It's so much fun to make your own cards for those special people in your life.
This one was lots of fun as I love the new Labels die and P.S. I Love You stamp set.
I used the set in the new Occasions Mini along with the Labels Framelits dies.
First I stamped the Cherub in blushing bride on very vanilla cs, inked the edges in the same and layered it on basic gray. Die cut the b.bride and b.gray framelit in the 2 different sizes to layer.
Punched a piece of the First Edition dsp with the Scallop trim border punch and inked with b.bride, layered some of the Victoria crochet trim and new b.bride pleated satin ribbon.
The sentiment is from Valentine Love set in the big catalog.
If you live in Canada and would like these products to make your own cards, go to my Stampin Up Website to purchase. I appreciate your business and any comments you leave.
Thanks for Looking
Monday, January 16, 2012
Sweet Sunday Sketch #150
When I saw The Sweet Sunday Sketch this morning I decided to give it a go.
For my card I used Take It to Heart set and the Hearts Framelits die, love the new dies, in the new Occasions Mini.
Love this sketch and how it turned out.
The colors I used: Basic Gray, Basic Black, Tempting Turquoise and W.White. The DSP is from Twitterpated in the new Occassion mini and the Brights and Neutrals Collection DSP.
Go give this sketch a try, and have fun playing.
If you live in the Fort McMurray area and would like to have fun playing with stamps and paper, please send me an email for details on my classes. If you live in Canada and would like to purchase these products please go to my Stampin Up website HERE
Thanks for looking.
For my card I used Take It to Heart set and the Hearts Framelits die, love the new dies, in the new Occasions Mini.
Love this sketch and how it turned out.
The colors I used: Basic Gray, Basic Black, Tempting Turquoise and W.White. The DSP is from Twitterpated in the new Occassion mini and the Brights and Neutrals Collection DSP.
Go give this sketch a try, and have fun playing.
If you live in the Fort McMurray area and would like to have fun playing with stamps and paper, please send me an email for details on my classes. If you live in Canada and would like to purchase these products please go to my Stampin Up website HERE
Thanks for looking.
Wednesday, January 4, 2012
New Occasions Mini catalogue
Happy New Year!!
Check out the new mini catalogue and see all the new goodies to play with!!!
To view the mini or buy these products in Canada please go to my Stampin Up Website HERE.
If you didn't receive the new mini and would like one please contact me to get a copy.
Anyone living in the Fort McMurray, AB area that would like to come to one of my classes please contact me thru email or phone. I would love to show you how to have fun playing with paper, ink and stamps!
Happy Stampin
~Louise
Thursday, December 15, 2011
New Items in Clearance Rack
Click the SHOP button now to go to my Stampin Up Website


Dates: December 15, 2011-January 5, 2012
Details:
Nearly 200 new Clearance Rack items are being added to the Online Store at discounts up to 80 percent off retail--while supplies last!
Happy Shopping!!!!
Monday, December 12, 2011
Christmas Tags - Pool Party Frost White Shimmer
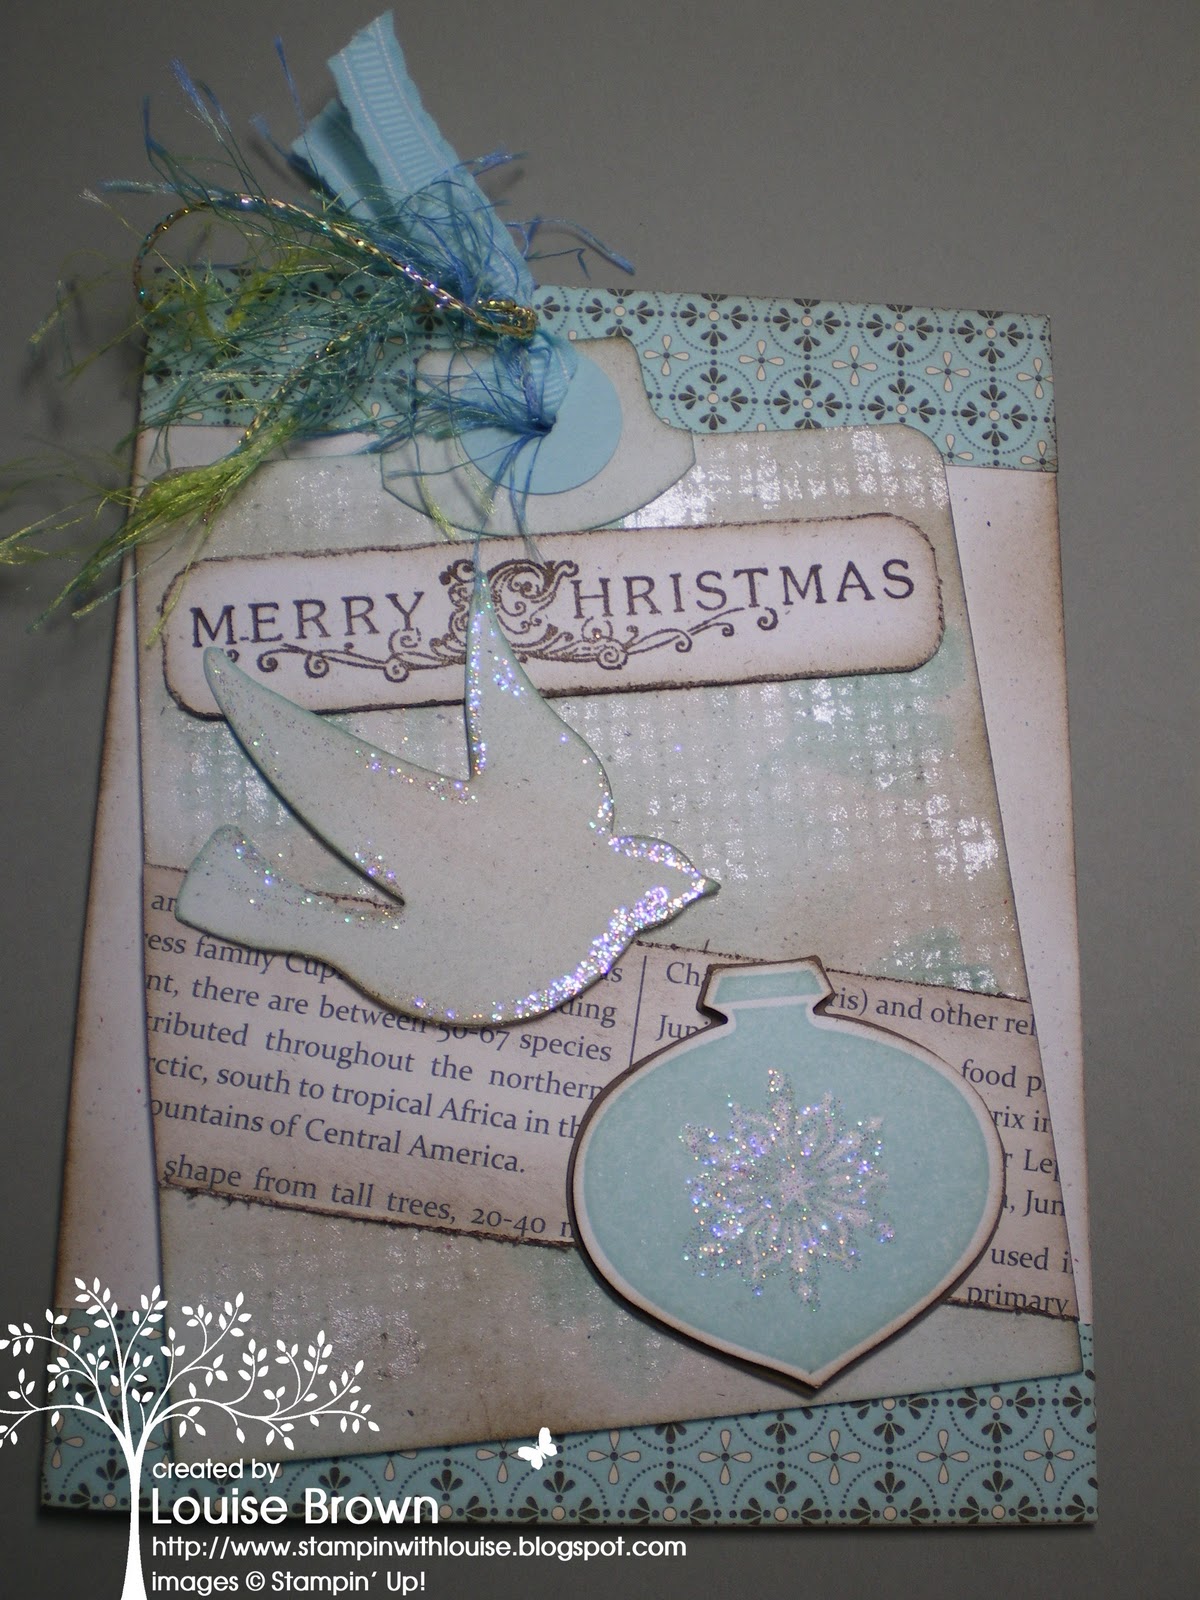
This is the 3rd tag and one of my favs. I love the Pool Party color and more Frost White Shimmer. The tag base is Natural White cs. The shimmer was applied using crumpled up plastic wrap, then sponged Pool Party and Soft Suede ink over it. Applied 2 way glue to the outside of the bird and the center of the stamped Ornament image then added Dazzling Diamonds glitter, for that extra sparkle.
The next tag is similar except I sponged the Frost White Shimmer paint over drywall tape then removed it. I attached this one to a Naturals White card base and used some of the Spice Cake DSP for layering.
If you live in the Fort McMurray area and would like to come to one of my class please email me. I would love to show you how to have fun with ink, stamps and paper.
If you live in Canada you can purchase these products on my Stampin Up website HERE
Thanks for looking
Happy Stampin
~Louise
Saturday, December 10, 2011
Christmas Tags - Winter Post Ink Resist
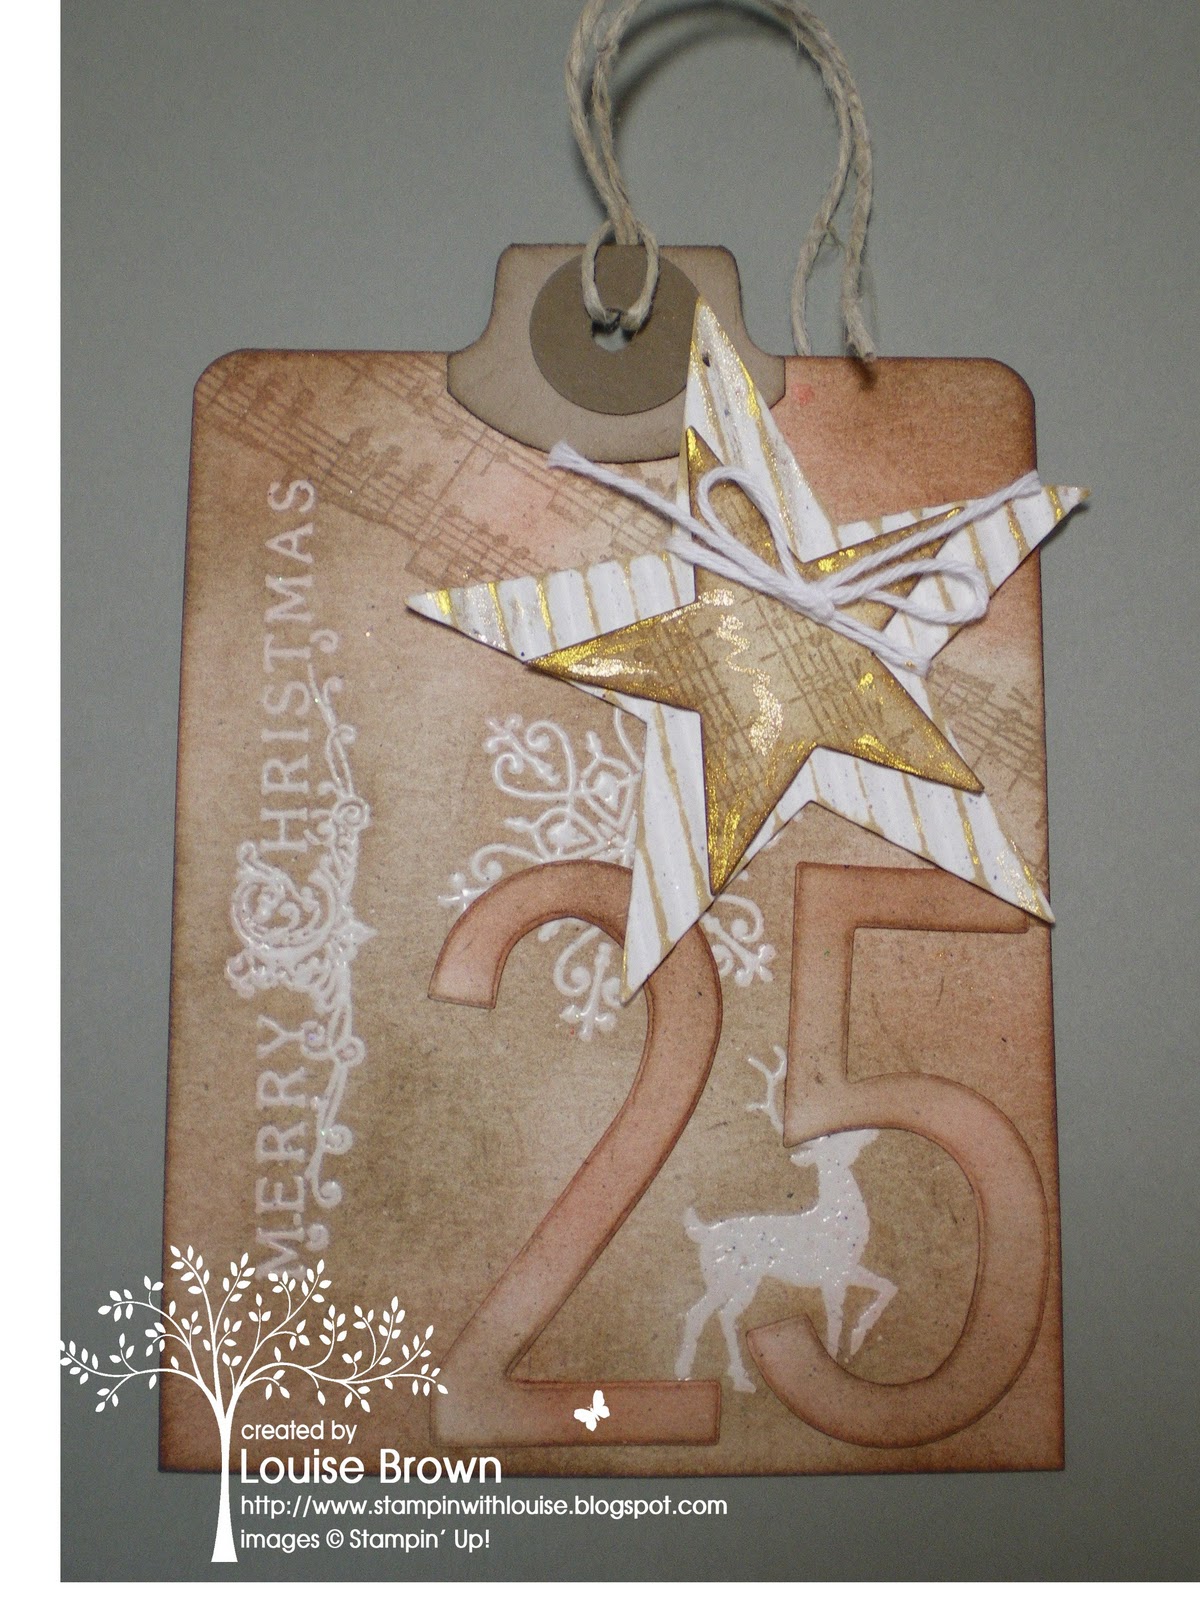
This is the second in the tags we did at class. I used the same colors in both but one had more of a gold tone. For the gold I used Gold Lame Smooch and Champagne Mist Shimmer paint.
The other tag used more of the Champagne Mist Shimmer Paint and some Cajun Craze ink.We started with a Natural White base tag and stamped the images with Versamark and embossed with clear embossing powder.
Next we sponged using Soft Suede and Cajun Craze. Depending on which color you wanted to be more dominate, they would turn out quite different. Using the Soft Suede and Music Notes Wheel we did second generation image over the embossed tag.
For the large star we used the Crimper and inked with Sponge Daubers in color of choice.
If you live in the Fort McMurray area and would like to come to one of my class please email me. I would love to show you how to have fun with ink, stamps and paper.
If you live in Canada you can purchase these products on my Stampin Up website HERE
Thanks for looking
Happy Stampin
~Louise
Friday, December 9, 2011
Christmas Tags - Monochromatic
Well I'm almost ready for Christmas and have been busy with classes, but now they are finished until after the New Year. Time to get my stuff done.
For our November/December classes we did tags that can be added to a card if you wanted.
Over the next few days I'll be posting the tags we did.
This is the first one, it is monochromatic with embossing and a little bling.
I did a second one and upped it some by adding some pearls and Crumb Cake seambinding.
For our November/December classes we did tags that can be added to a card if you wanted.
Over the next few days I'll be posting the tags we did.
This is the first one, it is monochromatic with embossing and a little bling.
I did a second one and upped it some by adding some pearls and Crumb Cake seambinding.
Hope you like and will give them a try.
If you have any questions please send me an email and I will try to answer.
The colors used was Naturals White and Crumb Cake.
If you live in the Fort McMurray area and would like to come to one of my class please email me. I would love to show you how to have fun with ink, stamps and paper.
If you live in Canada you can purchase these products on my Stampin Up website HERE
Thanks for looking
Happy Stampin
~Louise
Thursday, December 8, 2011
Christmas at Our House
No card or stampin post today, but some Christmas decor photos.
I've had most of my Christmas decorating done for about 3 weeks and decided I would post a few.
I love Christmas and what it's about...the birth of Jesus.
This tree is the one in our living room. I call this one my Angel tree. Lots of different ones on there, from the lace ones I've made (which is quite a variety) to crystal, glass, whatever I saw or was given. Love them all.
This next picture is a arrangement on the dinning room table. Love the silver and white here, sitting on a table runner my mom made me last year.
My front entry done with mostly snowman and this year I decided to do a little less. I always do a snowman tree in my Stampin/craft room, but this year was too crowded in there so just decorated the entry. I think I need a bigger craft room for all my Needs....wants, and now with the new Occasions Mini starting in January, I will be crowded even more. Gonna have to get a room built onto it....I wish, but I don't think that's going to happen.
Thanks for visiting and taking a look.Wishing you all a Merry Christmas and remember The Reason for The Season!!!
If you live in the Fort McMurray area and would like to come to one of my class please email me. I would love to show you how to have fun with ink, stamps and paper.
If you live in Canada you can purchase Stampin Up products on my Stampin Up website HERE
Happy Stampin
~Louise
Monday, November 21, 2011
24-HOUR-ONLY DEALS DURING ONLINE EXTRAVAGANZA!
The Online Extravaganza, our annual sale to kick off the holiday shopping season, will begin Monday, November 21, 2011, and run through Wednesday, November 30, 2011.
Extravaganza 24-hour-only sale items will be available from November 21, 12:01 AM - 11:59 PM (MT). Extremely limited-time deals! These special offers will not be extended past the deadline, so be sure to place your order with me or at my Stampin Up website HERE
Go to my Stampin Up website HERE on Monday, November 21, to take advantage of great savings, like FREE digital downloads valued at $42 when you buy My Digital Studio Express, 60 percent off select Designer Fabrics, and 30 percent off an exclusive ribbon bundle!
In addition, there will be two items on sale for 24 hours only (November 21, 12:01 AM – 11:59 PM [MT])—so make sure you don’t miss the first 24 hours of Online Extravaganza!
Happy Stampin
Louise
Saturday, November 5, 2011
Beautiful Season
Another of the cards we did at the Stamp A Stack. This set is so beautiful that it can be left without coloring. Here I stamped the image in A.Artichoke and colored the berries with C.Cobbler marker. The mat and and punched border is R.H.Red. The sentiment is from Perfect Punches stamped in R.H.Red and punched using the 1 3/4" scallop circle. I used the stripes from the Regals DSP and the bottom is A.Artichoke embossed with the Polka Dot EF. This is mounted unto a Natural White card.
Hope you've started making your Christmas cards.
If you live in the Fort McMurray area and would like to come to one of my class please email me. I would love to show you how to have fun with ink, stamps and paper.
If you live in Canada you can purchase these products on my Stampin Up website HERE
Thanks for looking
Happy Stampin
~Louise
Hope you've started making your Christmas cards.
If you live in the Fort McMurray area and would like to come to one of my class please email me. I would love to show you how to have fun with ink, stamps and paper.
If you live in Canada you can purchase these products on my Stampin Up website HERE
Thanks for looking
Happy Stampin
~Louise
Friday, November 4, 2011
Christmas Lodge Stamp a Stack
Another one if the cards I did for Stamp A Stack. Stamped the Lodge in Soft Suede on Natural White cs. Used a piece of torn Frostwood Lodge DSP and mounted it unto Cherry Cobbler. Using the postage stamp punch I punched out squares of G.Green and C.Cobbler, then cut in half diagonally and mounted together for the corner. The branch with birds was stamped in G. Green. Keeping it basic as there are beginners attending, and this way everyone could duplicate at home.
Hope you've all got a start on your Christmas cards, but if not and you live in the Fort McMurray area, contact me to come to a class to learn how.
If you live in Canada and would like to purchase these products check out my Stampin Up website HERE
Happy Stampin
Louise
Thursday, November 3, 2011
Glitzy Stocking Stamp A Stack
This card was so much fun to do, gotta love that Stocking Builder Punch! Sure makes a project fast and easy to do and using the Silver Glimmer paper adds that festive touch.
On the natural white card base I stamped the Serene Snowflakes set with Baja Breeze ink. I added a piece of Pocketfull of Posies dsp and a 2 1/2" circle punched from N.Q Navy cs and embossed with the Polka Dots ef.
If you live in Canada you can purchase these products on my Stampin Up Wesite HERE
Thanks for looking now go get a start on your Christmas cards.
Any questions about my cards or projects that I post please send me an email, I would love to hear from you and be glad to answer any questions.
Happy Stampin
~Louise
On the natural white card base I stamped the Serene Snowflakes set with Baja Breeze ink. I added a piece of Pocketfull of Posies dsp and a 2 1/2" circle punched from N.Q Navy cs and embossed with the Polka Dots ef.
If you live in Canada you can purchase these products on my Stampin Up Wesite HERE
Thanks for looking now go get a start on your Christmas cards.
Any questions about my cards or projects that I post please send me an email, I would love to hear from you and be glad to answer any questions.
Happy Stampin
~Louise
Subscribe to:
Posts (Atom)